- Quality Basics: Vault Admin
To import preapproved legacy content:
-
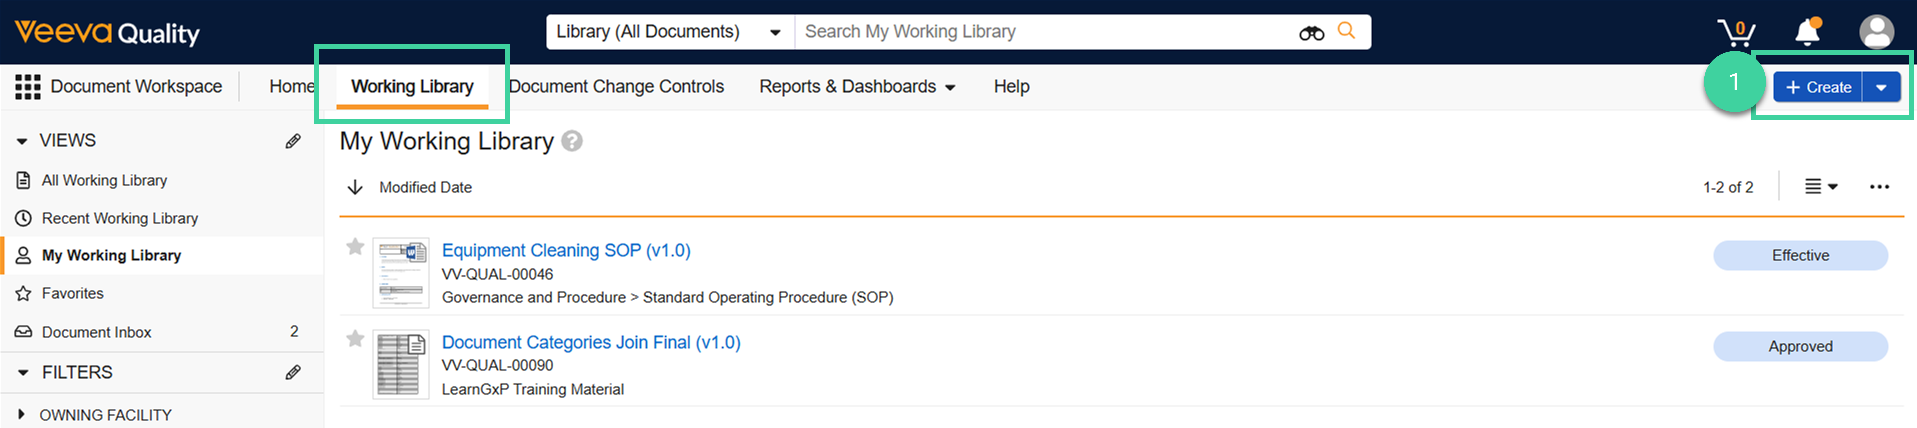
Navigate to Document Workspace > Working Library and click Create.
-
Select Upload and click Continue.

-
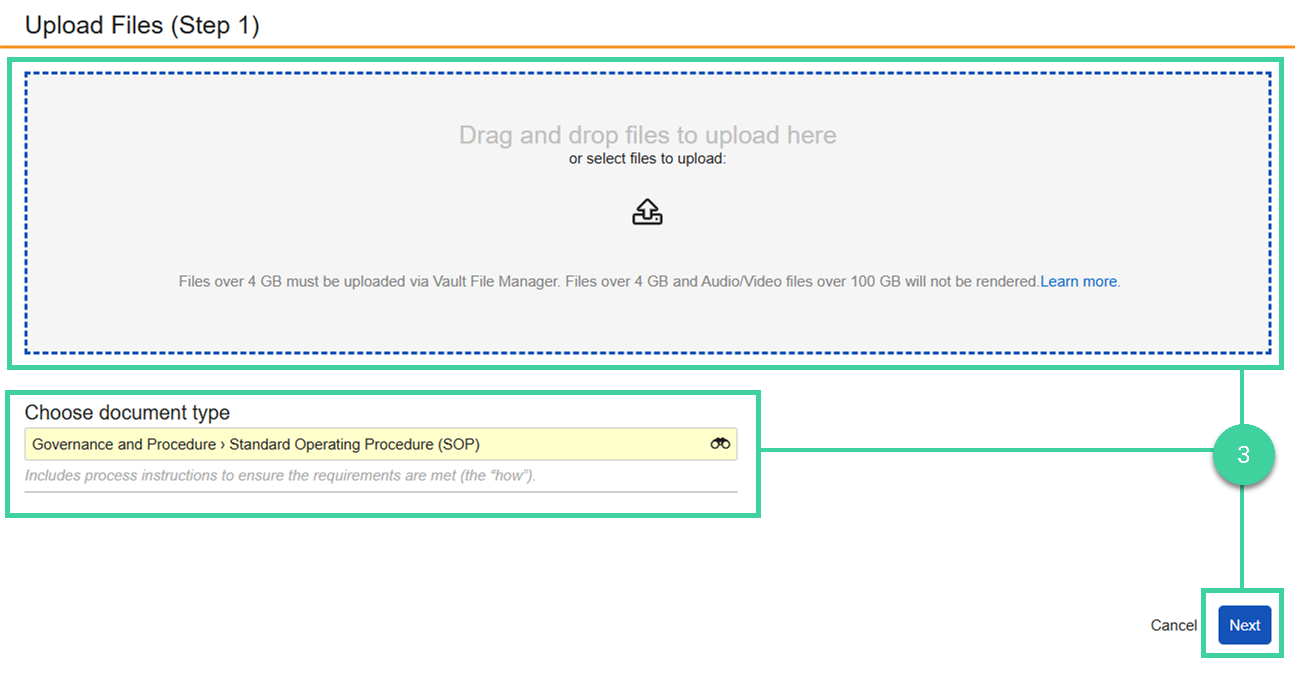
Drag and drop the preapproved document, select the appropriate document type and click Next.
-
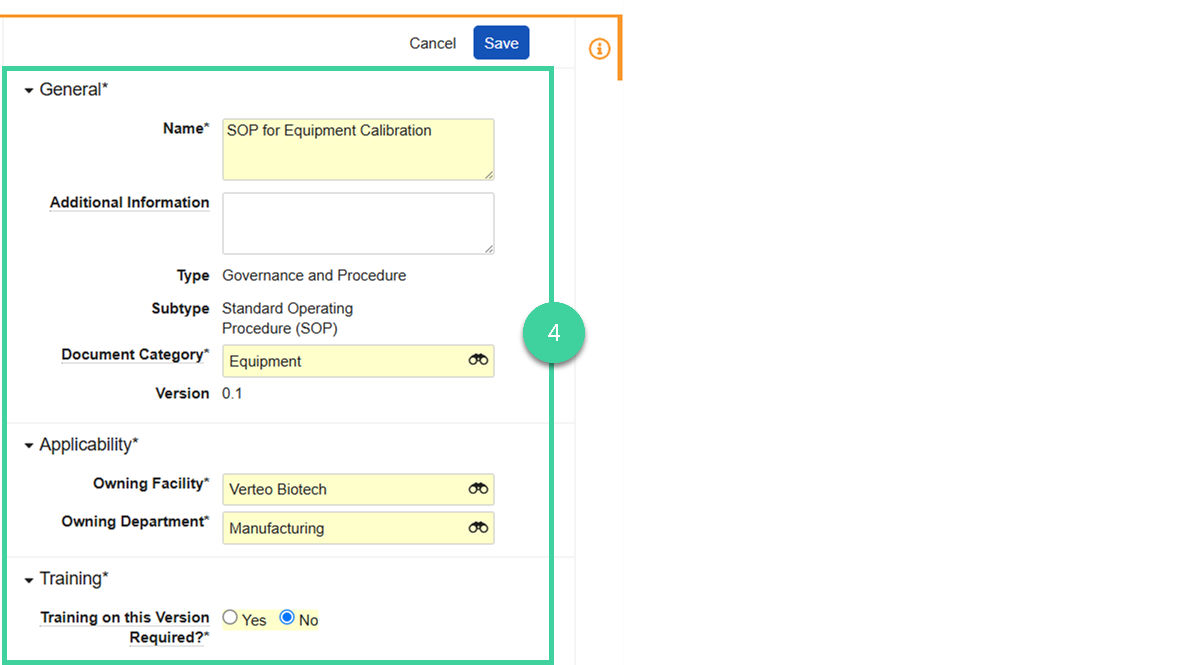
Populate all required fields.
-
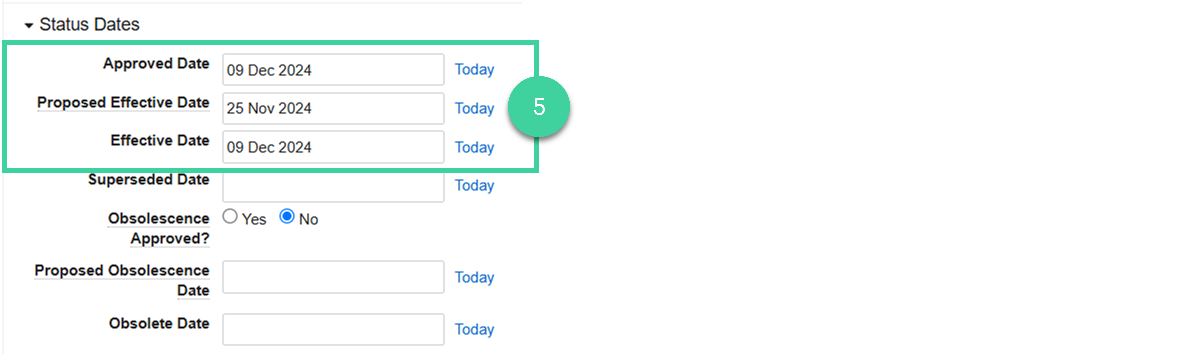
In the Status Dates section, populate the following:
-
Approved Date: Enter the date that the document was approved in the legacy system.
-
Proposed Effective Date: Enter the date that the document should automatically be made Effective in Vault. (If the document is already effective, you can select 14 days prior to the effective date).
-
Effective Date: Enter the date that the document became effective in the legacy system.
-
-
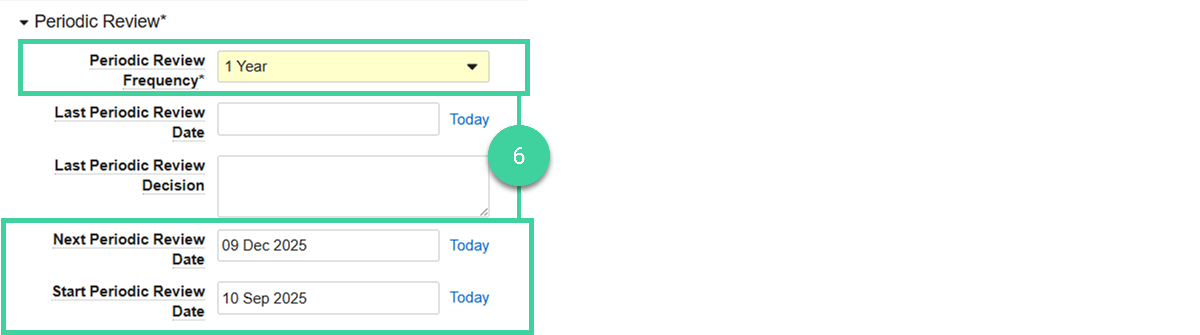
In the Periodic Review section, populate the following:
-
Periodic Review Frequency: Specify how often the document is required to go through periodic review.
-
Next Periodic Review Date: Enter the date that the document is next due for periodic review. This is calculated using the designated Periodic Review Frequency whenever a document completes a periodic review or is newly made Effective.
-
Start Periodic Review Date: Enter the date that the next periodic review of this document will automatically be started by the system.
-
-
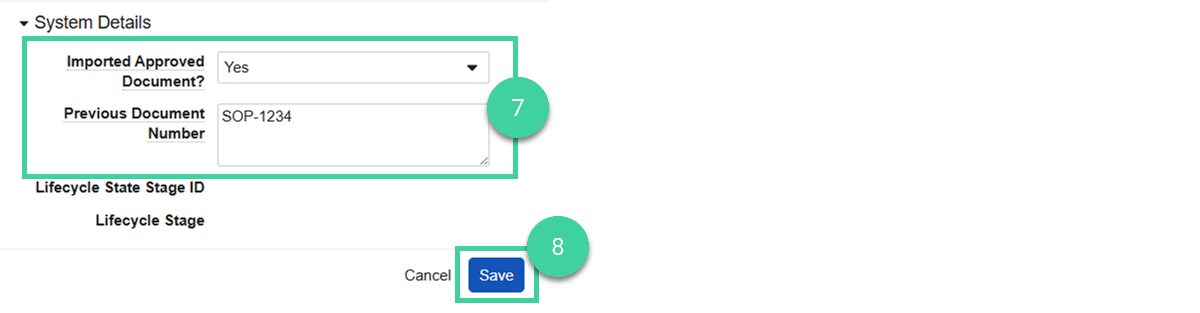
In the System Details section:
-
Imported Approved Document: Set this field to Yes.
-
Previous Document Number: Enter the document number or other identifier that the document used in the legacy system. This allows you to search for the document in Vault using the document number you are accustomed to. This field is optional.
-
-
Click Save.
-
Mark the document as approved. Select Mark Imported Document as Approved from the Workflow menu.

-
Click Start.

Maintaining Records of External Signatures
When importing documents, it’s likely that you will have the source document (i.e. a Word Document of your SOPs), as well as your “approved” document (i.e. a PDF document of your SOPs that includes approval signatures). In this case, we suggest the following best practice steps, in order to have access to the approved version, while maintaining access to the editable version:
First, upload your source document (i.e. Word document) as explained in the previous section.
Next, upload your approved PDF document as an Imported Rendition of your source document.
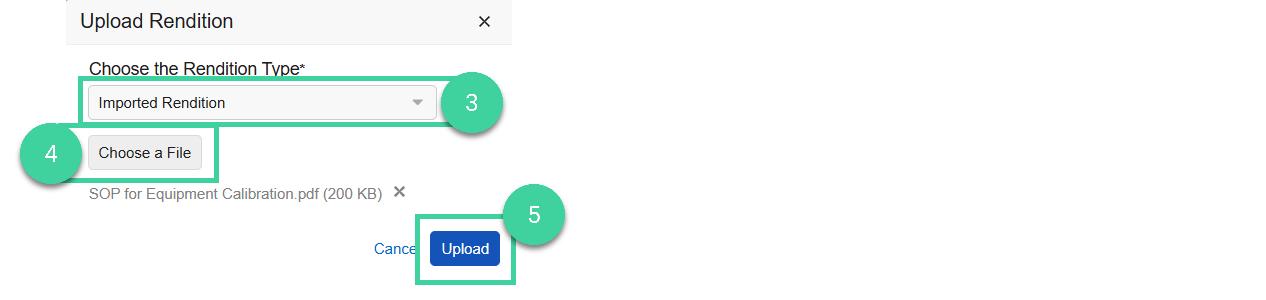
To upload a new Rendition:
-
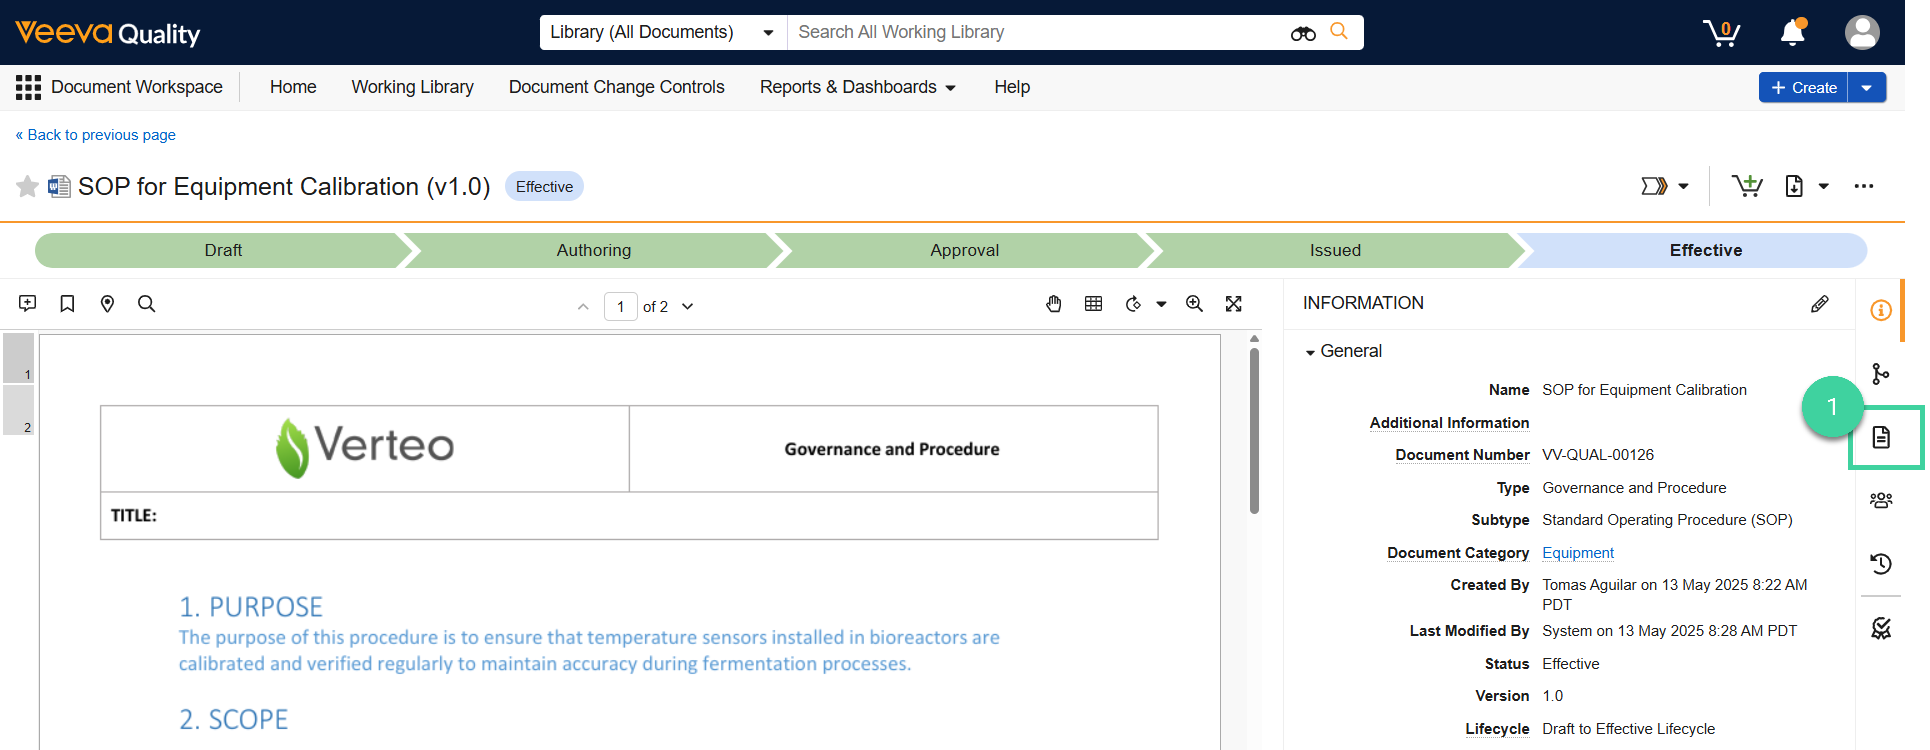
Click the Document Files icon in the Information panel.
-
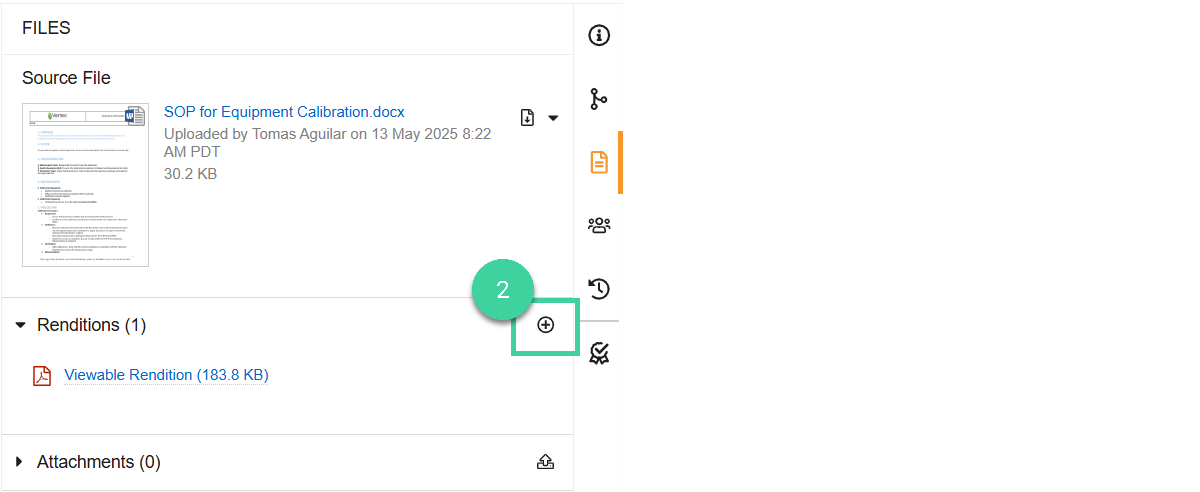
From the Renditions area, click Add Rendition.
-
Choose Imported Rendition as Rendition Type.
-
Click Choose File and select the file to attach as a rendition.
-
Click Upload.
You can see the Imported Rendition.
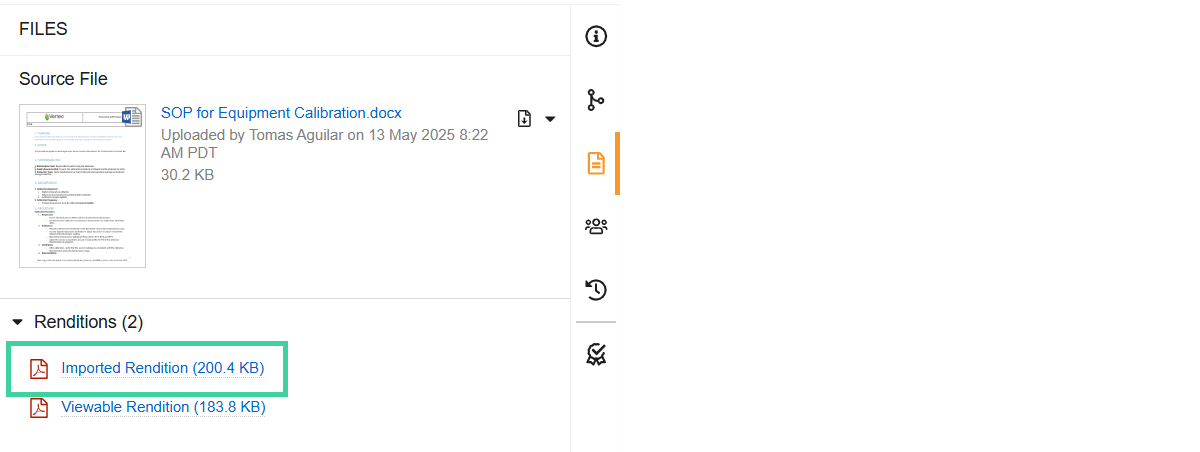
Note: A Viewable Rendition is a viewable copy of your original document that Veeva Quality Basics creates once you upload a document.
An Imported Rendition is a viewable copy you can upload (i.e. your approved PDF document containing appropriate signatures), in order to maintain your editable source document and your viewable approved document together within Veeva Quality Basics.