- Quality Basics: Document User
You can create new documents in Vault Quality Basics using the following methods:
- Upload a document from a drive
- Create a placeholder document
- Create a document from a template
- Create a new draft of an approved document
- Import a document that has been approved externally
- See Supported File Formats to ensure that you’re using files of supported formats
Create a Document via Upload
To create a Document via Upload:
-
Navigate to Document Workspace > Working Library, and click Create.

-
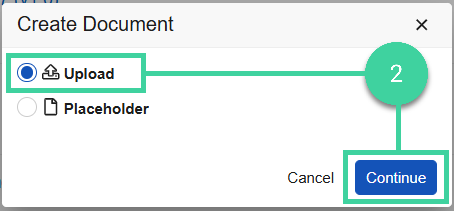
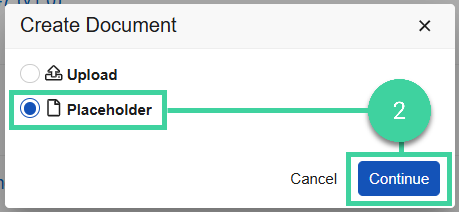
In the Create Document dialog, select Upload and click Continue.
-
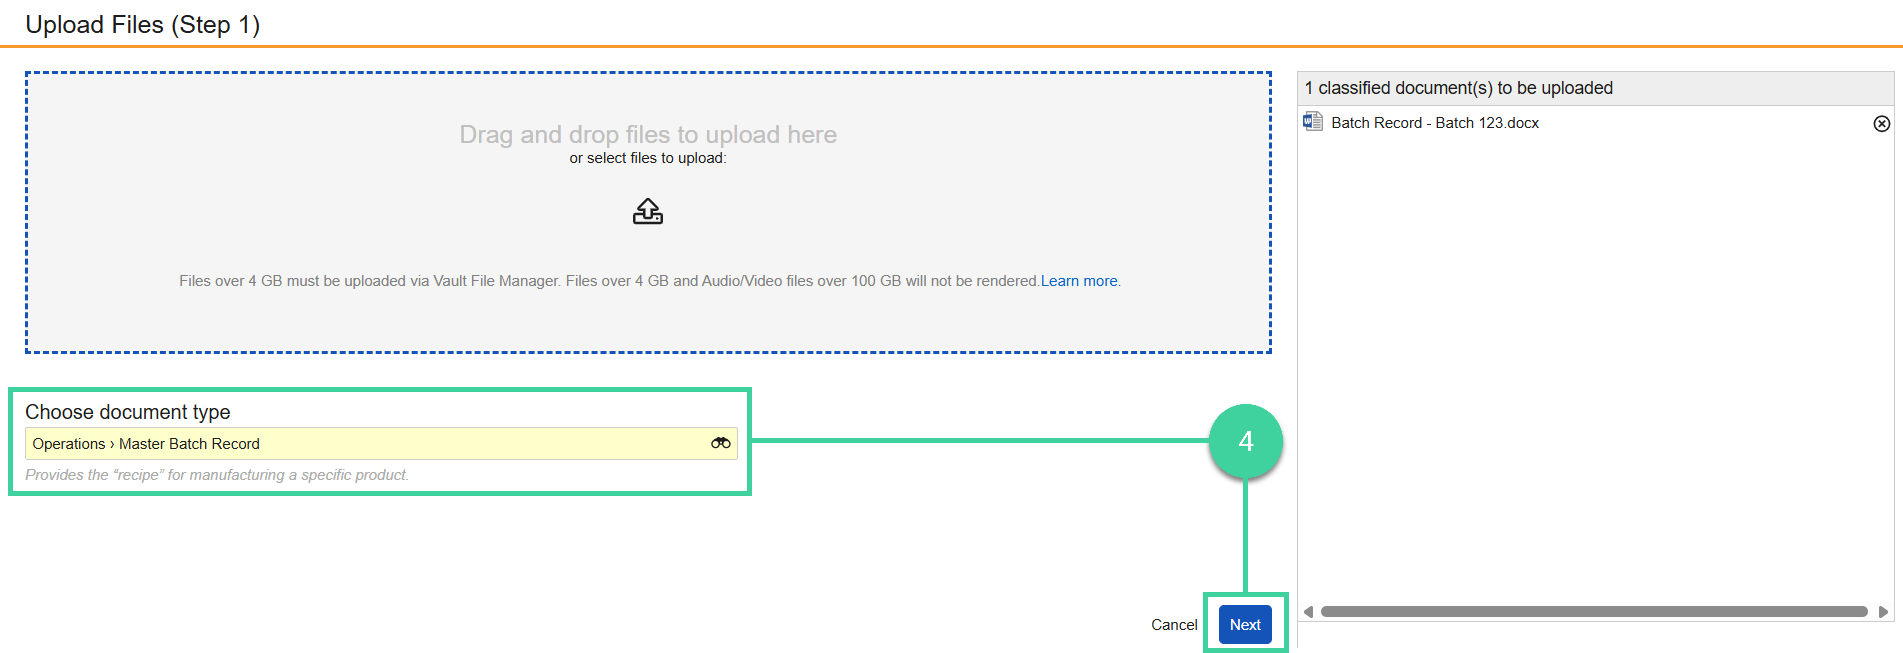
On the Upload Files page, click Upload, select the document you want to upload, and click Open. Alternatively, drag and drop the document file you want to upload onto the Drag and drop files to upload here section.

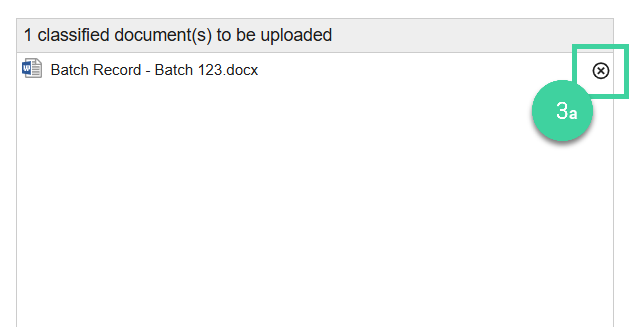
- To remove a document from the list of files to be uploaded, click the delete icon (x) next to the document name in the right panel.
-
Select the document type from the Choose document type drop-down, then click Next. A message is displayed on the Upload Files page when the files have been successfully uploaded.
-
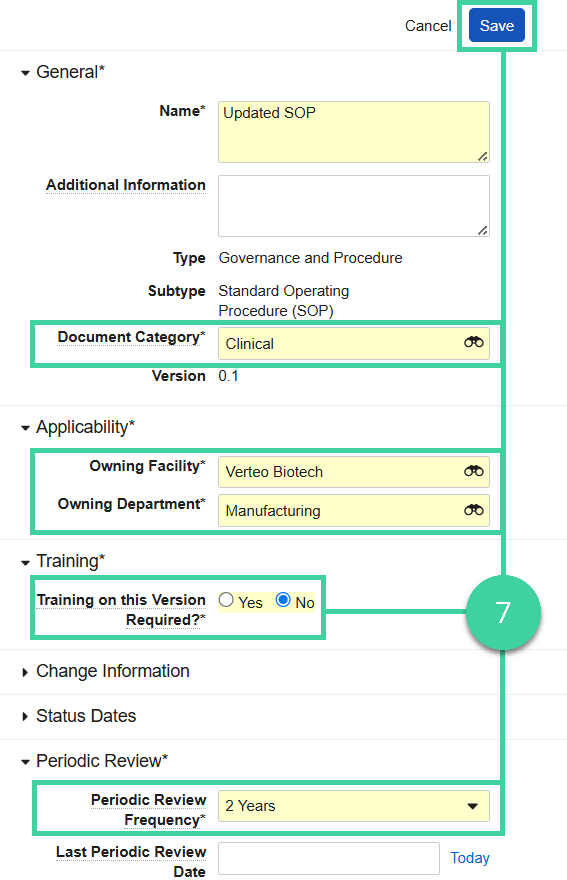
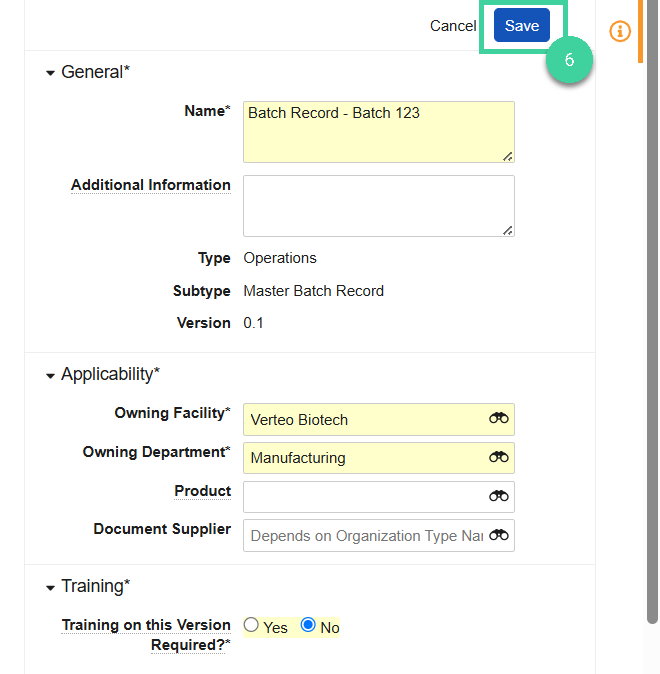
Enter the document’s Name, Owning Facility, Owning Department, and if there is Training on this Version Required.
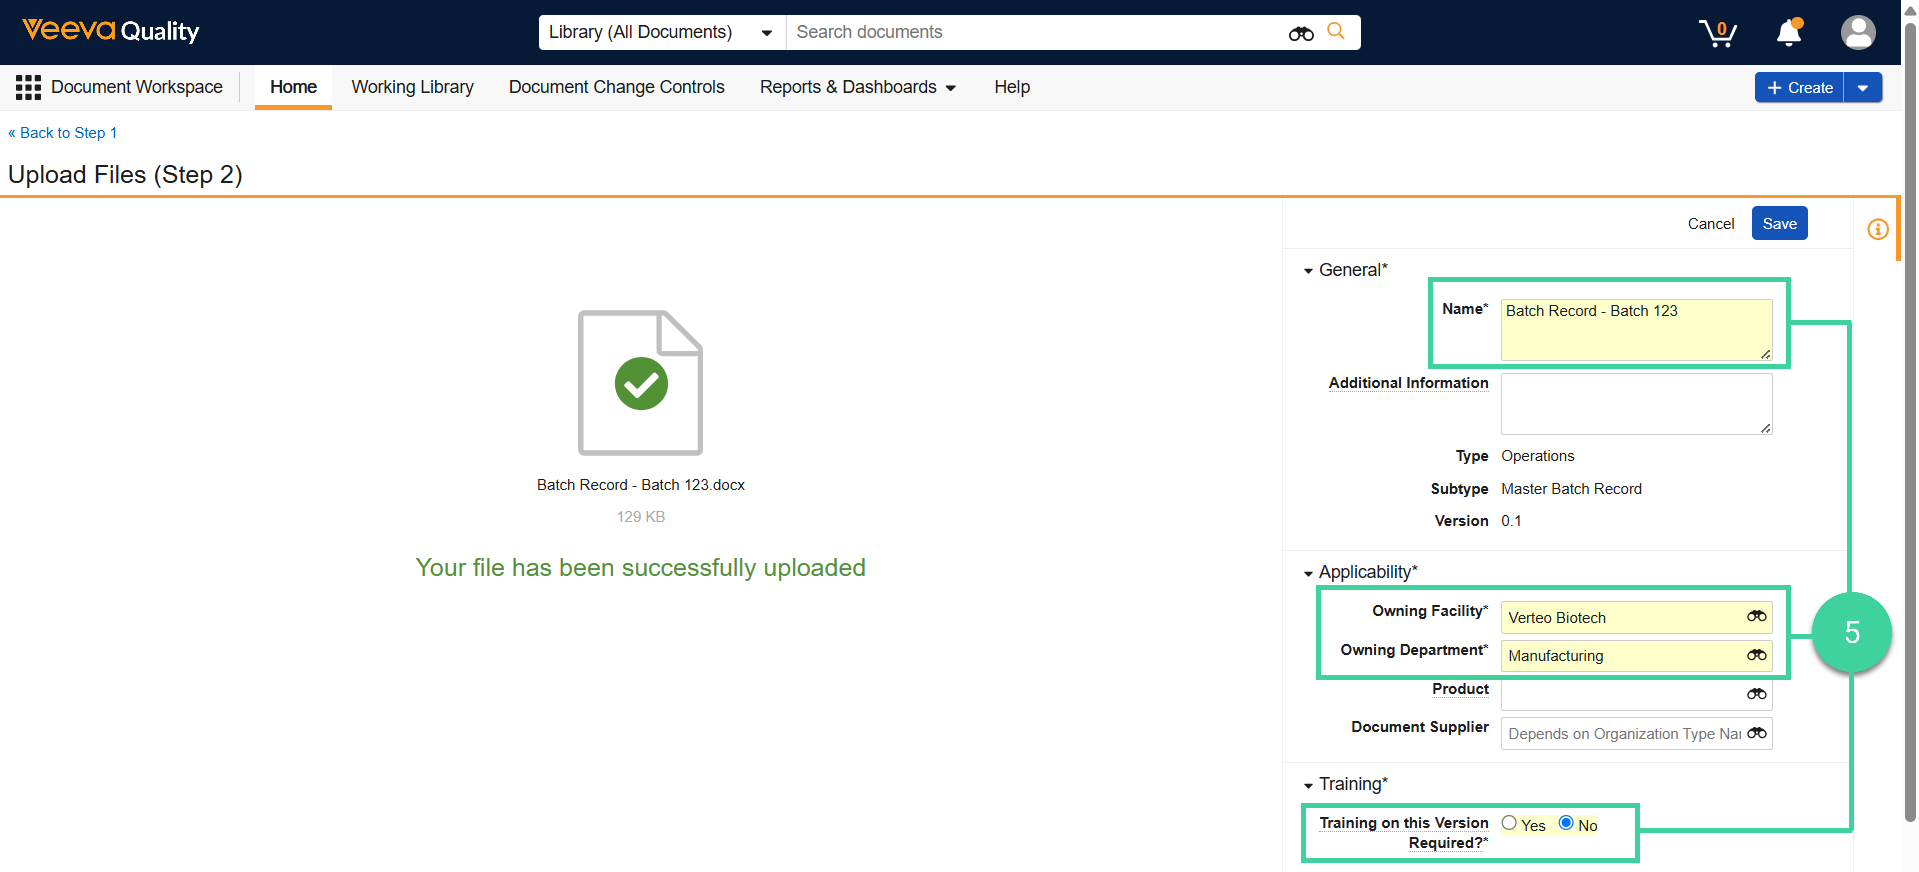
- Populate the remaining required fields. Required fields are indicated with an asterisk (*) and are dependent on the document lifecycle of the selected document type.
- Enter any additional information as needed.
-
Click Save. The system saves the document, generates a viewable rendition, and displays the document’s details.
Import an Approved Document
- Quality Basics: Vault Admin
When you first set up Quality Basics: QualityDocs, you may need to import documents that have already been approved in your legacy system. In this situation, you can import the preapproved documents and bypass the standard approval process.
Follow the document upload process above to import the approved documents. During upload, populate the following fields on the Upload Files (Step 2) page:
- Approved Date: Enter the date that the document was approved in the legacy system.
- Imported Document?: Select Yes to indicate that the document is being imported as an approved document. Setting this field to Yes indicates that the document is an Imported Approved Document in the Document Information panel.
- Previous Document Number: Enter the document number or other identifier that the document used in the legacy system. This allows you to search for the document in Vault using the document number you are accustomed to. This field is optional.
- Proposed Effective Date: Enter the date that the document should automatically be made Effective in Vault. (If the document is already effective, you can select 14 days prior to the effective date).
- Effective Date: Enter the date that the document became effective in the legacy system.
- Next Periodic Review Date: Enter the date that the document is next due for periodic review. This is calculated using the designated Periodic Review Frequency whenever a document completes a periodic review or is newly made Effective.
- Start Periodic Review Date: Enter the date that the next periodic review of this document will automatically be started by the system.

Create a Placeholder Document
A placeholder document is a document record in Vault that does not yet have an uploaded document. You can create a placeholder document record now and upload a document to the placeholder later.
To create a Placeholder Document:
-
Navigate to Document Workspace > Working Library, and click Create.

-
In the Create Document dialog, select Placeholder and click Continue.
-
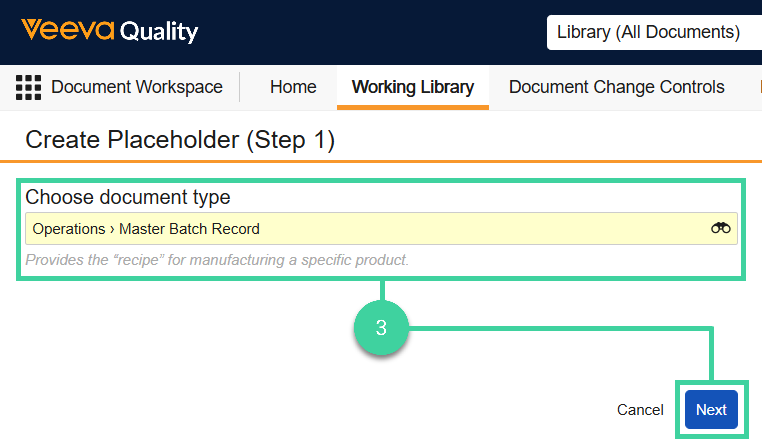
On the Upload Files page, select the document type from the Choose document type drop-down and click Next.
-
Enter the placeholder document’s Name, Owning Facility, Owning Department, and if there is Training on this Version Required.
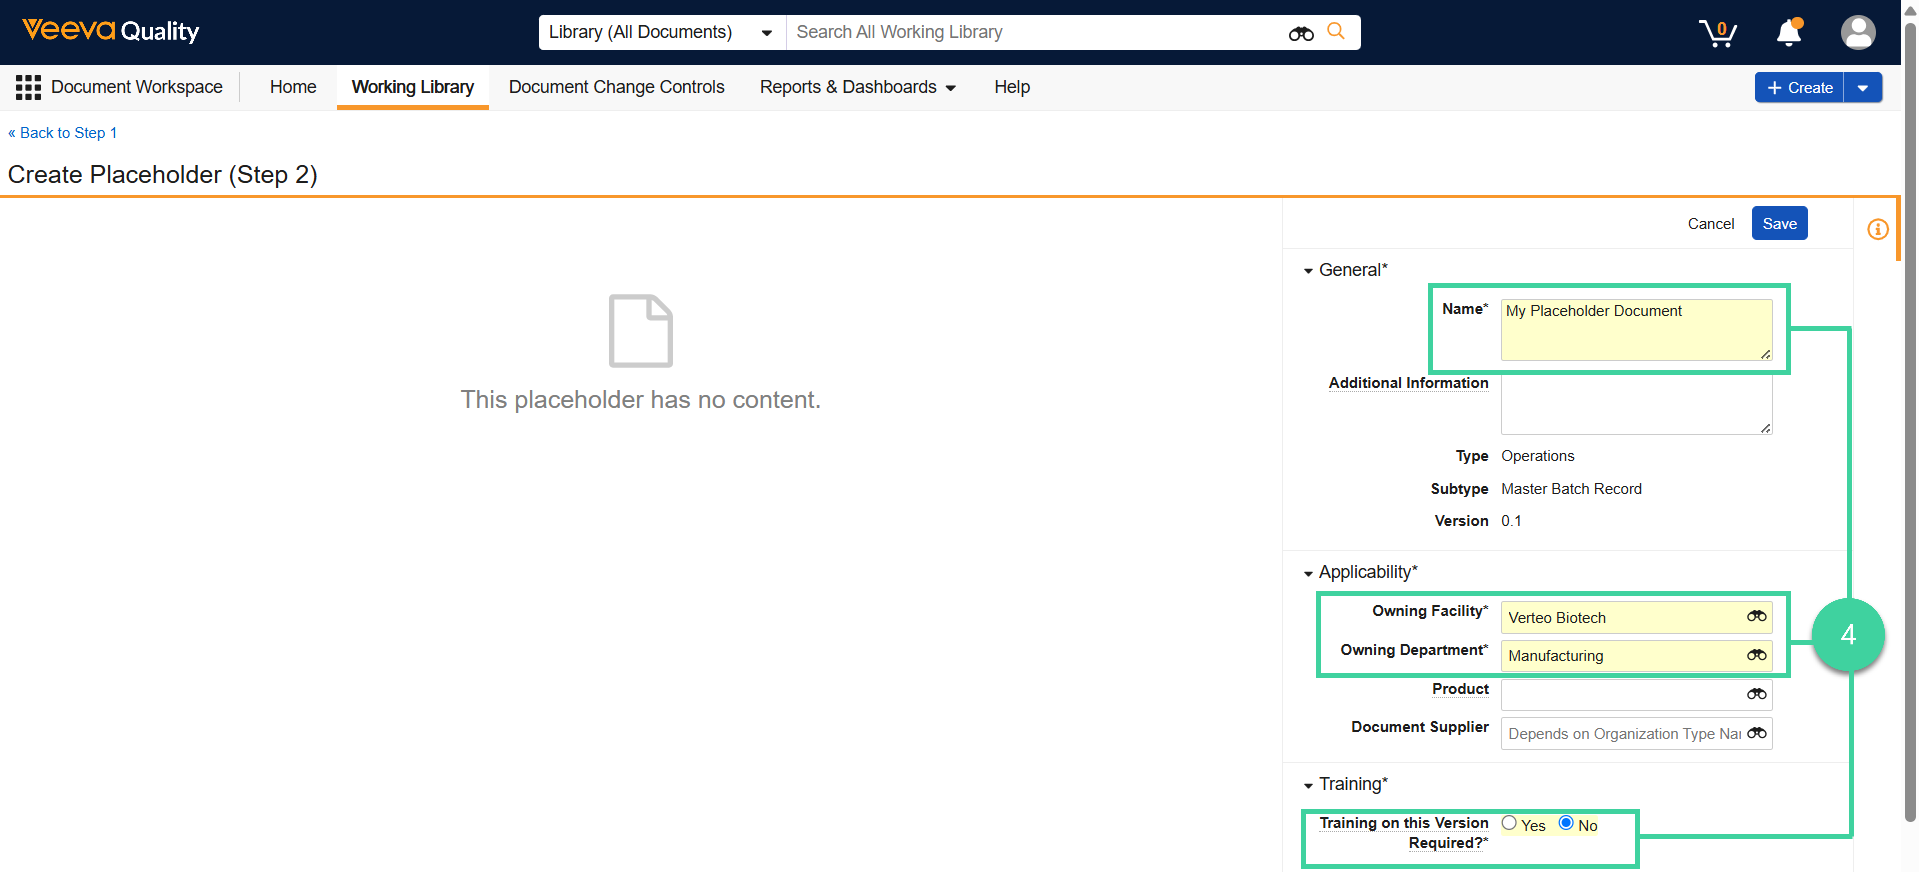
- Fill in the remaining required fields. Required fields are indicated with an asterisk (*) and are dependent on the document lifecycle of the selected document type.
- Enter any additional information as needed.
-
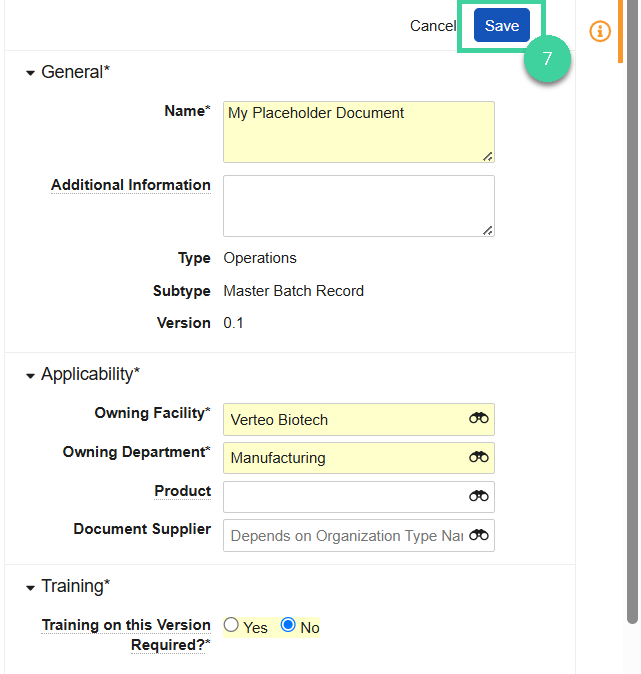
Click Save. The system saves the document record and displays the document’s details.
Create a Draft from an Approved Document
To create a Draft from an Approved Document:
-
Navigate to Document Workspace > Working Library.

-
Open the Approved Document you want to create a draft from.

-
From the All Actions menu, select Create Draft.

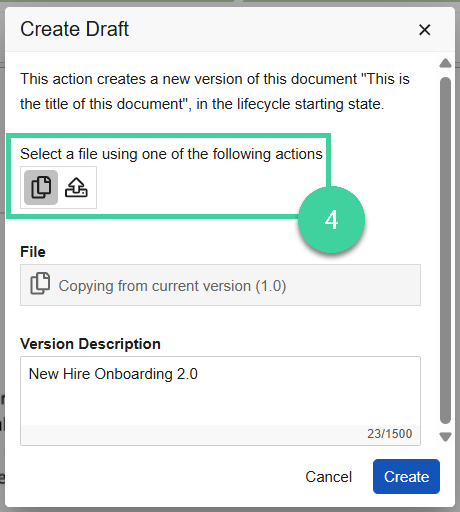
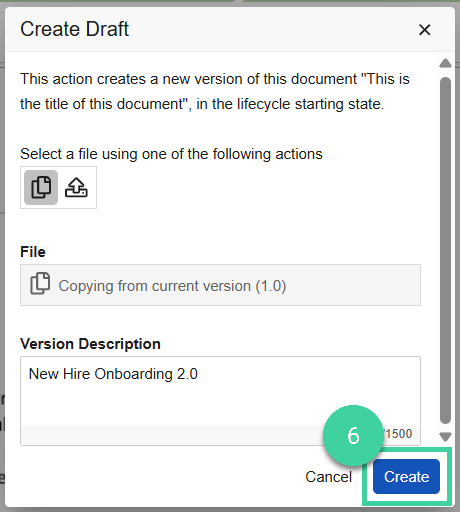
- Select an action in the Create Draft dialog:
- To create a new draft using the existing file, click Copy.
- To upload a new file, click Upload, select the document file you want, and click Open.
-
Optional: Enter a Version Description.
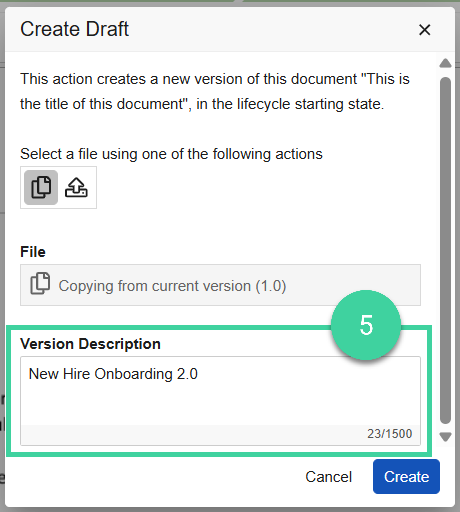
-
Click Create. Vault creates a new document and assigns it the next minor version.
Create a Document from a Template
To create a document from a Document Template:
-
Navigate to Document Workspace > Working Library, and click Create.

-
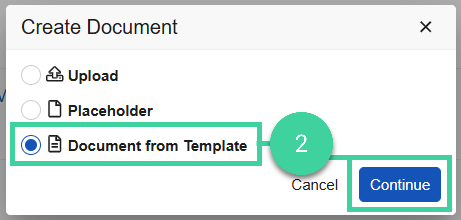
In the Create Document dialog, select Document from Template and click Continue.
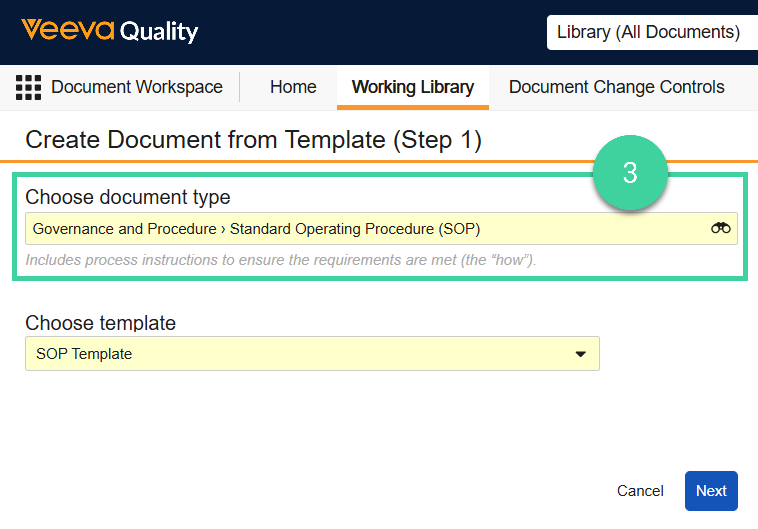
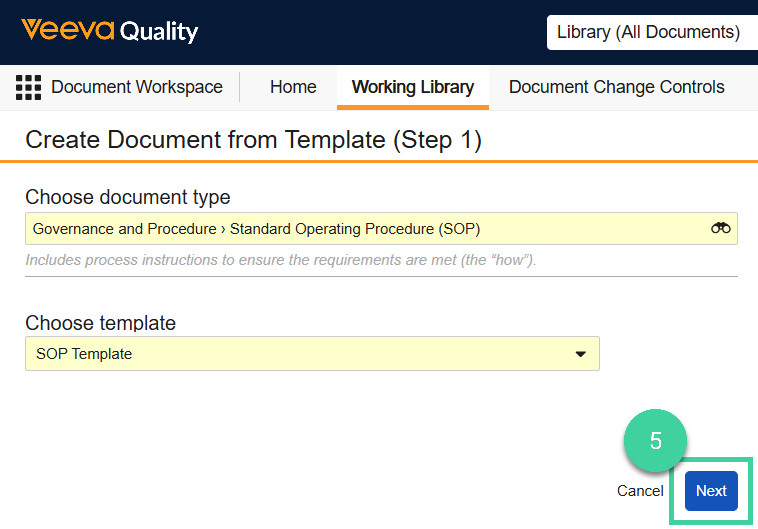
- On the Create Document from Template page, select the document type from the Choose document type drop-down.
- Note: Vault only displays document types that have an associated template.
-
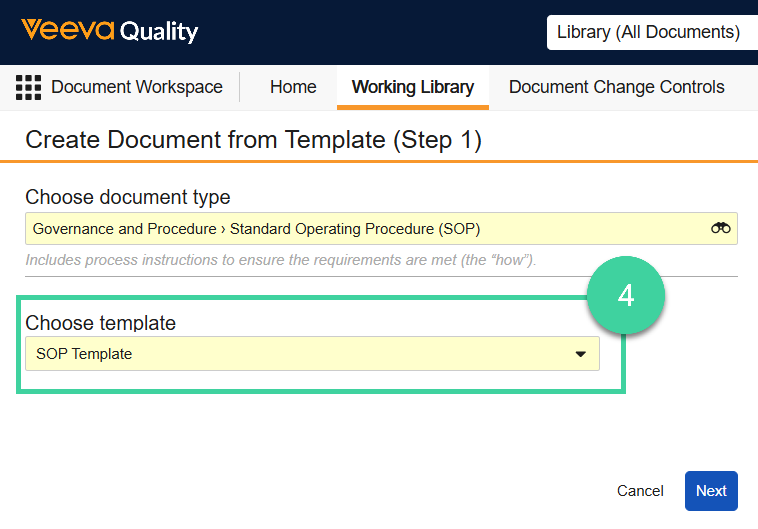
From the Choose template drop-down, select the template you want to use.
-
Click Next.
-
Enter a Name for the document.
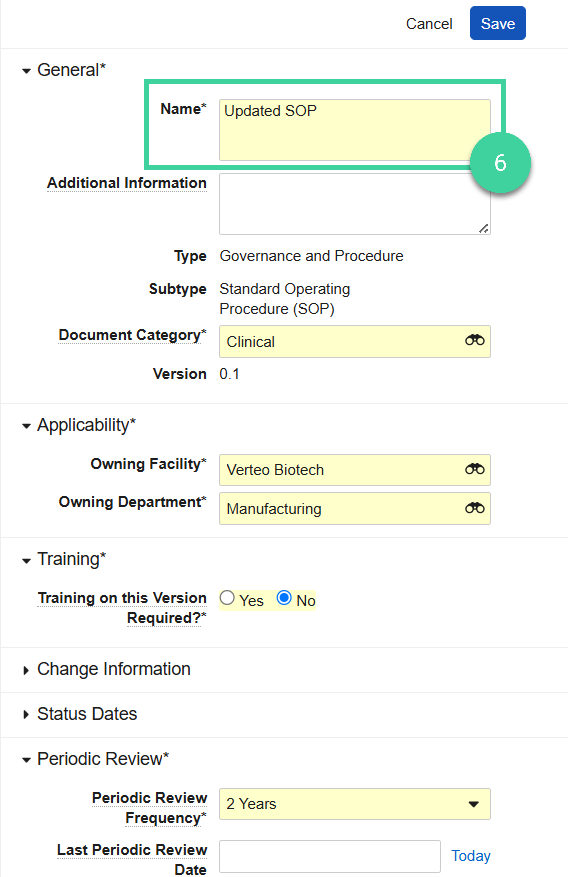
-
Populate the remaining required fields and click Save. The system saves the document in a Draft state and displays the document’s details.